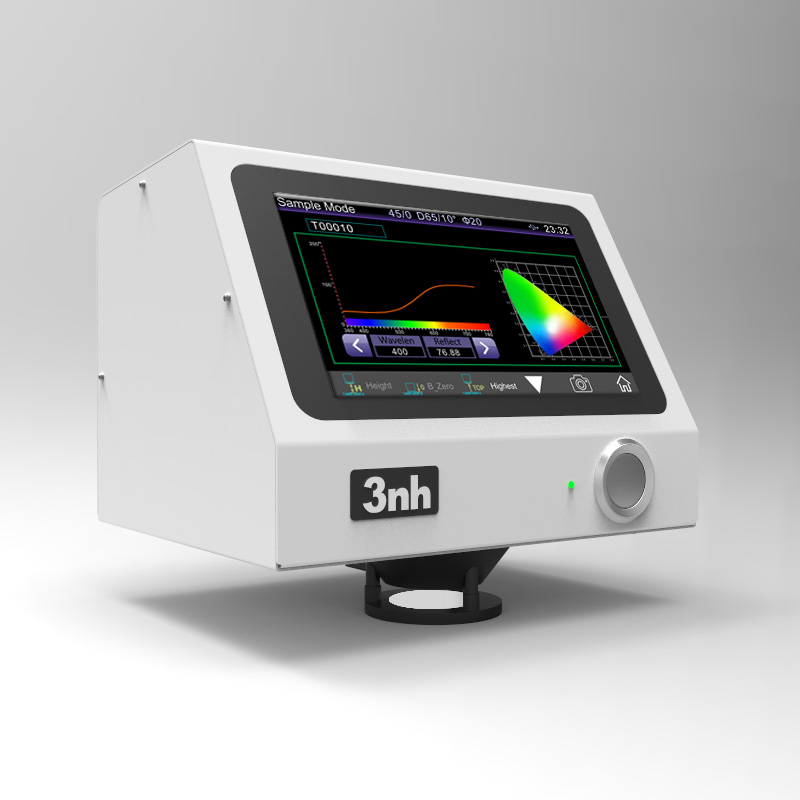
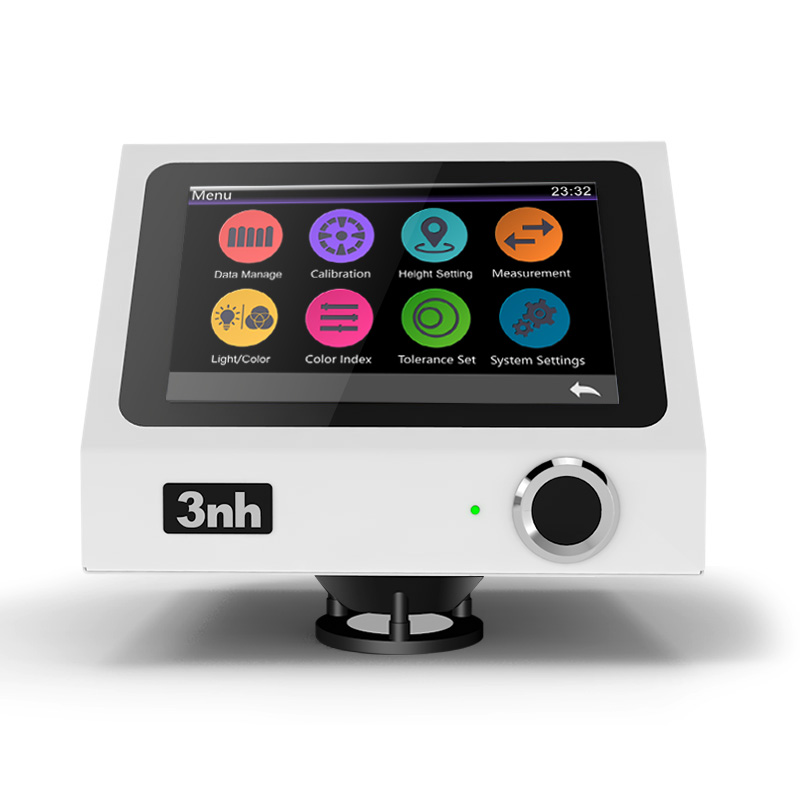
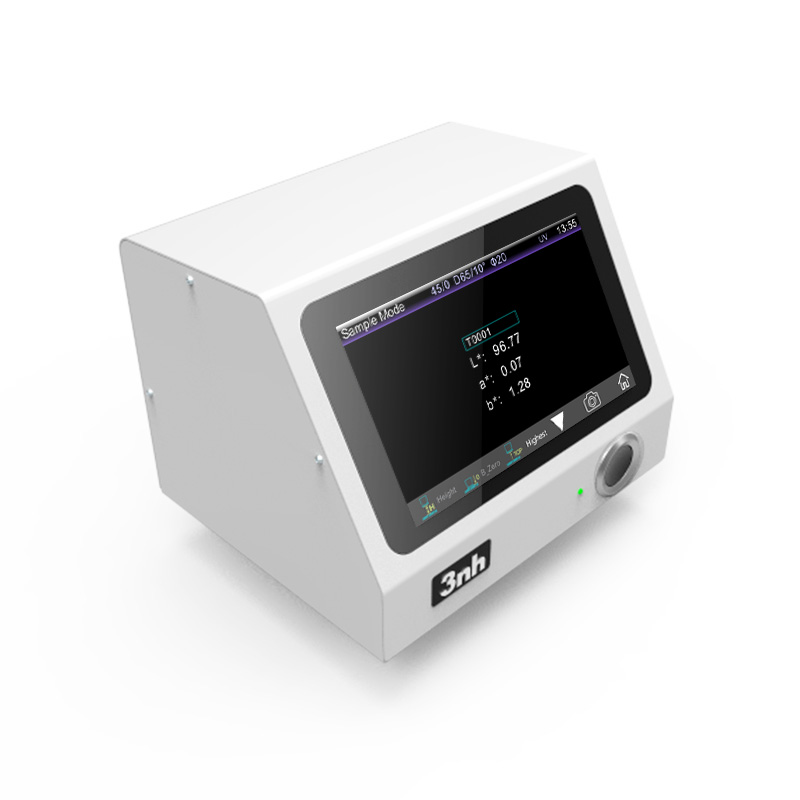
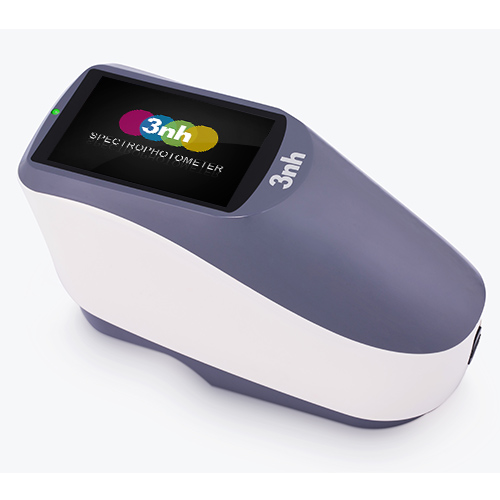
The YL4668 spectrophotometer is a color measuring instrument that adopts
D/8 (diffuse illumination, 8°direction reception, SCI includes specular
reflection light) standard color measurement instrument, non-contact test
between test probe and tested sample, to achieve liquid and sauce , powder
and other non-contact precision color measurement. The simple probe design
allows this product to be placed anywhere on the automated production line
for precise color measurement and color quality control. It is widely used
in cosmetics, fruits and vegetables, food hygiene, plastic electronics,
paint and ink, printing, ceramics and other industries. It can be used
for fluorescent sample measurement. Its unique innovative design can not
only provide non-contact measurement solutions directly from the production
line, but also ensure stable and high-precision measurement results.
Features of non-contact spectrophotometer
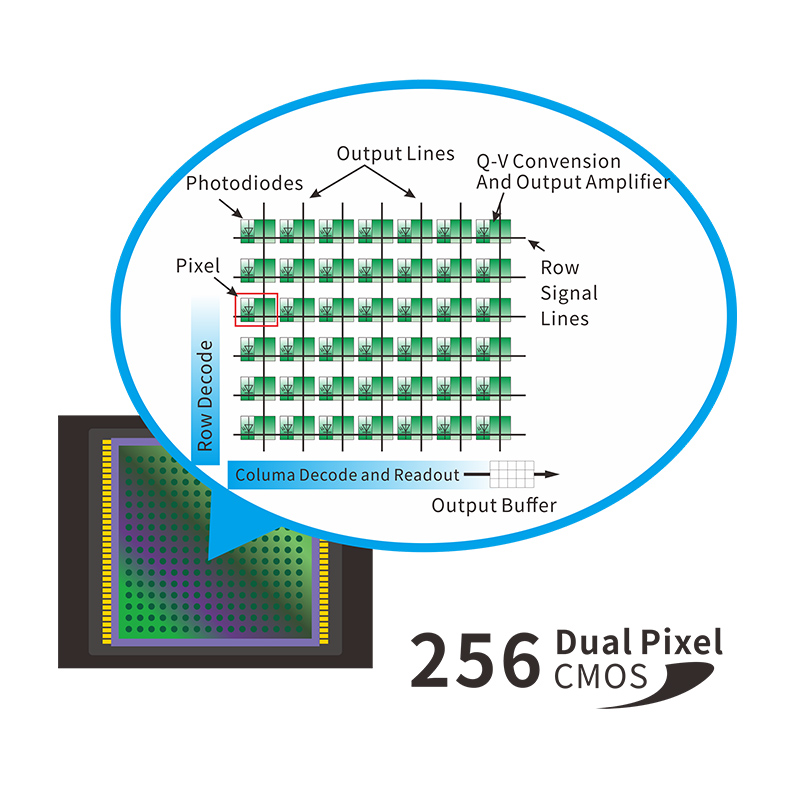
1. 256-pixel dual-array CMOS image sensor
Higher optical resolution ensures the measurement speed, accuracy, stability and consistency of the instrument, mastering the core technology, and achieving complete compatibility on the same platform with international standards.
2. Using full-spectrum LED light source
The full-spectrum LED light source ensures sufficient spectrum distribution
in the visible light range, avoids the lack of LED spectra in specific
bands, and ensures the accuracy of the instrument's measurement results
and low-cost maintenance.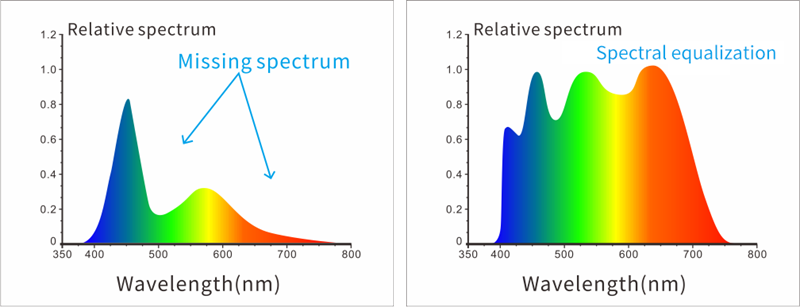
3. Concave grating spectroscopy technology
Using concave grating spectroscopy technology, it has higher resolution
and makes color measurement more accurate.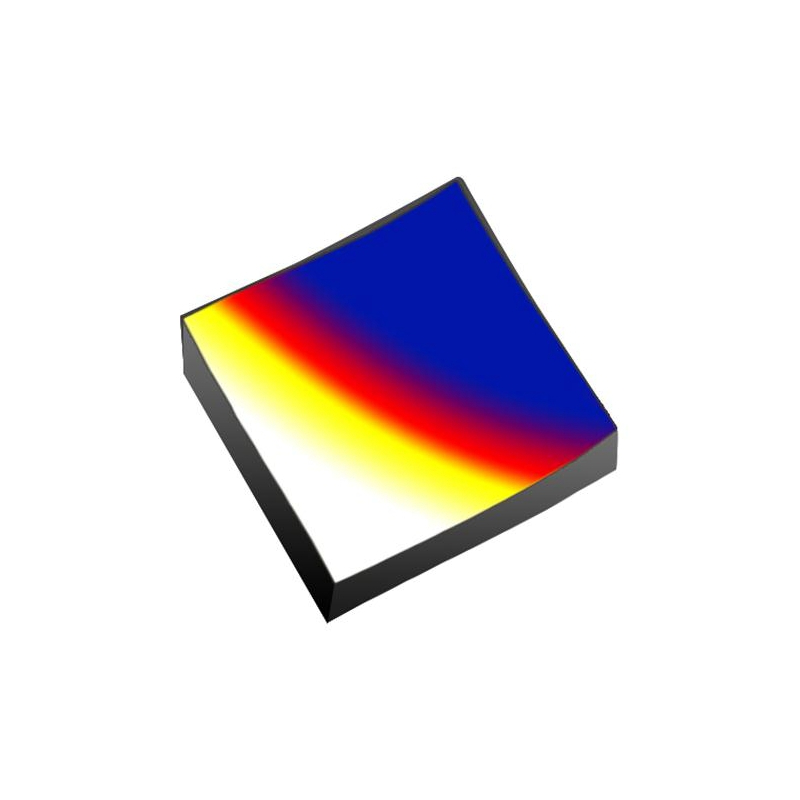
4. Higher quality
Using industrial-grade real-time processing MCU, supporting Bluetooth
5.0 transmission is more stable and reliable.
5. Multi-color measurement space and observation light source
Provide CIE LAB, XYZ, Yxy, LCh, CIE LUV, Musell, s-RGB, HunterLab, βxy,
DIN Lab99 color space, and D65, A, C, D50, D55, D75, F1, F2 (CWF), F3,
F4, F5, F6, F7 (DLF), F8, F9, F10 (TPL5), F11 (TL84), F12 (TL83/U30) multiple
observation light sources can meet the special measurement requirements
under different measurement conditions.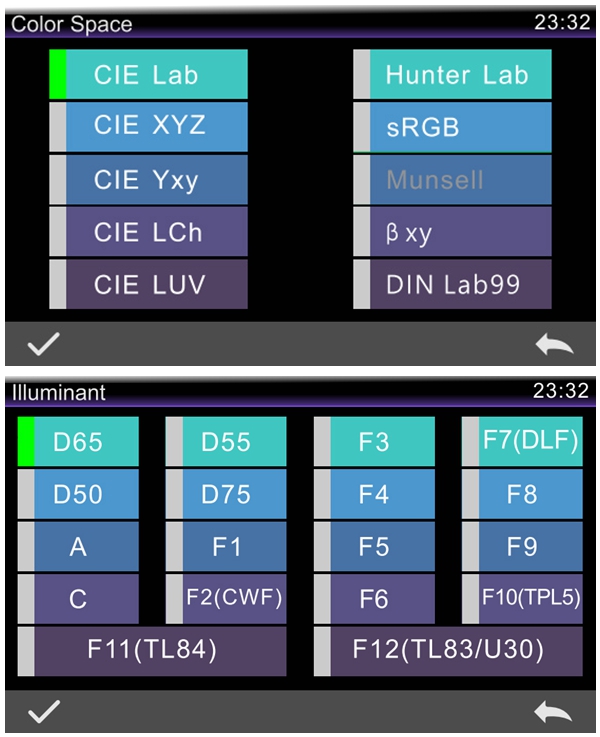
6. Efficient
A complete measurement cycle only needs 200 milliseconds, and more than 400,000 samples can be measured per day.
YL4668 Non-Contact Spectrophotometer Technical Parameters
| Model | YL4668 |
| Optical Geometry |
D/8 (diffuse illumination, 8° direction reception, SCI includes specular
reflection light); Comply with standard CIE No.15, GB/T 3978, GB 2893, GB/T 18833, ISO7724-1, ASTM E1164, DIN5033 Teil7, GB 2893, GB/T 18833 |
| Features | Non-contact test between test probe and tested sample, to achieve the non-contact precise color measurement of liquid, sauce, powder, etc. It is mainly used for accurate color measurement and quality control of automated production lines; the measurement time can be adjusted from 0.2 to 1.5 seconds, and the software functions can be customized (additional customization function needs to be evaluated). |
| Light Source | Full spectrum LED light source, UV light source |
| Spectrophotometric Mode | Concave Grating |
| Sensor | 256-pixel dual-array CMOS image sensor |
| Wavelength Range | 400~700nm, 10nm output |
| Measured Reflectance Range | 0-200% |
| Measuring Aperture | Φ20mm (Φ10mm can be customized) |
| Non-contact distance | 3.0mm (±0.2mm) |
| Sample height | Unlimited thickness, only test probes are used |
| Distance adjustment method | Fixed height according to actual sample |
| Measurement mode | Software customization function (additional customization function needs to be evaluated) |
| Locating | Camera locating |
| Color Space | CIE LAB,XYZ,Yxy,LCh,CIE LUV,Musell,s-RGB,HunterLab,βxy,DIN Lab99 |
| Color Difference Formula | ΔE*ab,ΔE*94,ΔE*cmc(2:1),ΔE*cmc(1:1),ΔE*00,ΔE(Hunter),DINΔE99 |
| Other Colorimetric Index |
WI(ASTM E313,CIE/ISO,AATCC,Hunter), YI(ASTM D1925,ASTM 313), Metamerism index MI, Staining Fastness, Color Fastness, Strength, Opacity |
| Observer Angle | 2°/10° |
| Illuminant | D65,A,C,D50,D55,D75,F1,F2(CWF),F3,F4,F5,F6,F7(DLF),F8,F9,F10(TPL5),F11(TL84),F12(TL83/U30) |
| Displayed Data | Spectrogram/Values, Samples Chromaticity Values, Color Difference Values/Graph, Color simulation, pass/fail result, display tolerance can be set |
| Measuring Time | As fast as 0.2 seconds |
| Data Storage | Sample mode + quality control mode 18,000 |
| Continuous statistical mode 30,000, totaling no more than 48,000 | |
| Repeatability |
In the optimal measurement mode (when a single measurement time is 1.5
seconds): Spectral reflectance: within 0.1% of standard deviation: Chromaticity value: ΔE*ab within 0.03(After the instrument is warmed up and calibrated, measure the average value of the whiteboard 30 times at an interval of 5s) |
| Inter-instrument Error | Within ΔE*ab 0.2(Measured average value of 12 tiles of BCRA series Ⅱ) |
| Measurement method | Single measurement, average measurement (2~99 times) |
| Dimension | 200*200*160mm (test probe) |
| Weight | About 3Kg (only test probe) |
| Power | AC 24V, 3A Power adapter power supply |
| Illuminant Life Span | 5 years, more than 3 million times measurements |
| Display | 7-inch TFT color LCD, Capacitive Touch Screen |
| Data Port | USB, Bluetooth®5.0 |
| Language | Simplified Chinese, Traditional Chinese, English |
| Operating Environment | 0~40℃, 0~85%RH (no condensation), altitude: less than 2000m |
| Storage Environment | -20~50℃, 0~85%RH (no condensation) |
| Standard Accessory | Power adapter, manual, data cable, standard calibration board, black calibration box |
| Notes | This model is specially suitable for streamlined production lines, in-depth function customization will incur additional customization costs |
